Hello All, in this first Zeta Alliance post I am going to show you how to install a Virtual Server with OnlyOffice. The VM will be using Let’s Encrypt for SSL, and the certbot renew cycle is used to update the docker image as well.
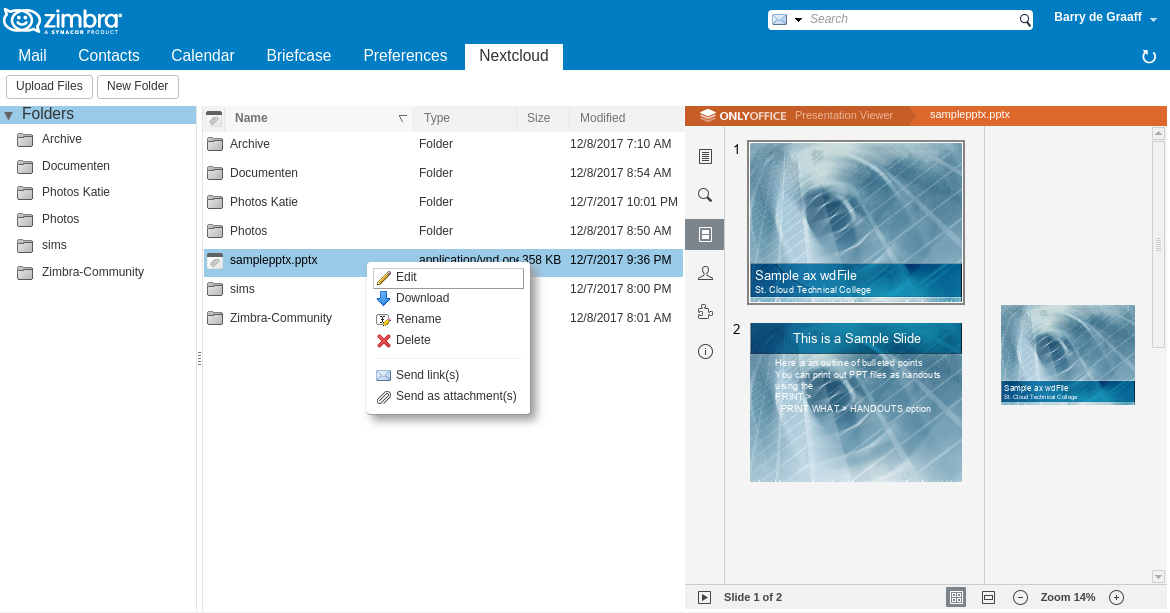
The final idea is to use Zimbra WebDAV Client (Nextcloud Zimlet) together with OnlyOffice for online document editing. I’ll blog about the Nextcloud Zimlet another time.
The VM will need a public port 443 and 8443 exposed to the Internet and I recommend to put it on a separate IP and domain name. You MUST use port 443, but in place of 8443 you can use any port that is higher than 8000.
The VM is kickstarted and the SSL certificate is generated from Let’s Encrypt. Why? Because let’s encrypt does include a working certificate chain AND removes weak ciphers from the cert. This results in less configuration, or you can say OnlyOffice does not work with weak ciphers, broken chains and or wildcard certs.
https://github.com/Zimbra-Community/pgp-zimlet/blob/stable/kvm/centos7-ext4.cfg
yum groupinstall "Basic Web Server"
systemctl start httpd
yum install certbot
yum install certbot-apache
certbot --apache
- Congratulations! Your certificate and chain have been saved at: /etc/letsencrypt/live/onlyoffice.domain.com/fullchain.pem Your key file has been saved at: /etc/letsencrypt/live/onlyoffice.domain.com/privkey.pem
Apache stays on port 443, because that works with Let’s Encrypt.
yum -y install docker
systemctl enable docker
systemctl start docker
https://github.com/ONLYOFFICE/Docker-DocumentServer
mkdir -p /app/onlyoffice/DocumentServer/data/certs/
cp /etc/letsencrypt/live/onlyoffice.domain.com/fullchain.pem /app/onlyoffice/DocumentServer/data/certs/onlyoffice.crt
cp /etc/letsencrypt/live/onlyoffice.domain.com/privkey.pem /app/onlyoffice/DocumentServer/data/certs/onlyoffice.key
cd  /app/onlyoffice/DocumentServer/data/certs/
openssl dhparam -out dhparam.pem 2048

[root@onlyoffice ~]# ls /app/onlyoffice/DocumentServer/data/certs/
dhparam.pem  onlyoffice.crt  onlyoffice.key  onlyoffice.pem
firewall-cmd --add-port=8443/udp --permanent
firewall-cmd --add-port=8443/tcp --permanent
firewall-cmd --reload
#Remove all running containers, there should be none
docker rm -f $(docker ps -a -q)
docker run -i -t -d --restart always --name onlyoffice-document-server -p 8443:443     -v /app/onlyoffice/DocumentServer/data:/var/www/onlyoffice/Data  onlyoffice/documentserver
Now you can look at https://onlyoffice.domain.com:8443/welcome/ and see the Document Server running. Install and configure OnlyOffice app under Office apps in Nextcloud and configure under Admin, the server url. Done!
Restrict users
In the current version of DS you may restrict access from alternative ownCloud, NextCloud or other file storages by editing Document Server configuration file /etc/onlyoffice/documentserver/default.json. Find the section ‘filter’ and change it to the following look :
  "rules": [
    {
      "address": "owncloud_IP_or_DN",
      "allowed": true
    },
    {
      "address": "*",
      "allowed": false
    }
  ],
  "useforrequest": true,
  "errorcode": 403
}
After editing configuration file use the command ‘supervisorctl restart all’. As you are using Docker version at first enter the container with ‘docker exec -it container_ID /bin/bash’ and then perform previously mentioned operations. Thank you for the interest in ONLYOFFICE.
Automatic update of Let’s Encrypt Certificate and docker document server
crontab -e
3 3 * * * /usr/bin/certbot renew --post-hook "/usr/local/sbin/refresh_docker.sh"
And the contents of /usr/local/sbin/refresh_docker.sh
#!/bin/bash
/usr/bin/systemctl restart httpd
/bin/cp -f /etc/letsencrypt/live/onlyoffice.domain.com/fullchain.pem /app/onlyoffice/DocumentServer/data/certs/onlyoffice.crt
/bin/cp -f /etc/letsencrypt/live/onlyoffice.domain.com/privkey.pem  /app/onlyoffice/DocumentServer/data/certs/onlyoffice.key
/usr/bin/docker rm -f $(/usr/bin/docker ps -a -q)
/usr/bin/docker rmi $(docker images -q)
/usr/bin/docker run -i -t -d --restart always --name onlyoffice-document-server -p 8443:443     -v /app/onlyoffice/DocumentServer/data:/var/www/onlyoffice/Data  onlyoffice/documentserver
To integrate this OnlyOffice in Zimbra, you must set the owncloud_zimlet_enable_onlyoffice property to true, you can find instructions here.

